Lesson 4 · 4 of 20
Treeview as a table · tkinter
Show data in rows and columns with tkinter's ttk.Treeview: columns, headings, alignment, coloured rows and a row selected from code.
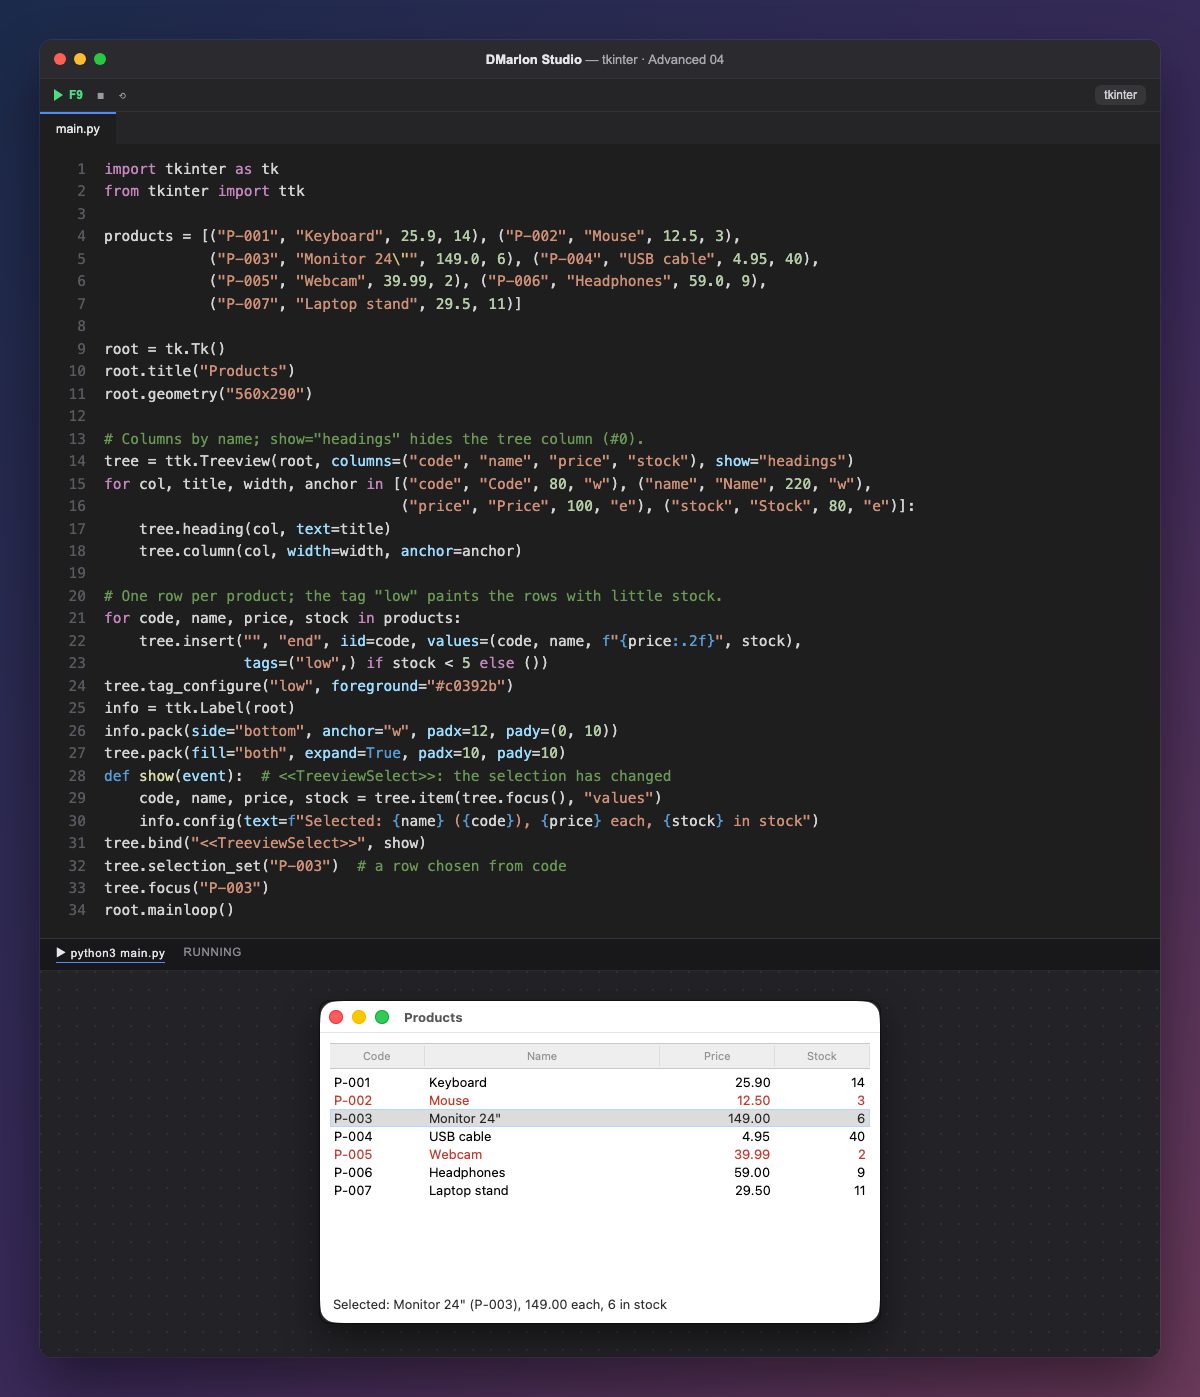
ttk.Treeview does both tables and trees. For a table you give it the column names (columns=("code", "name", ...)) and show="headings", which hides the tree column (#0) and leaves only the headings.
For each column, heading() sets the heading text and column() the width and alignment: price and stock are right-aligned (anchor="e"), as numbers should be.
insert("", "end", iid=code, values=(...)) adds a row at the end. "" is the parent (the root: in a table every row hangs from it), iid gives the row its own id (here, the product code) and values holds one value per column, in order. With tags=("low",) and tag_configure("low", foreground=...), rows with fewer than 5 units turn red.
The selection is handled with selection_set() and focus(), and every change fires the virtual event <<TreeviewSelect>>. The show function reads the row with item(..., "values") and writes a summary in the label below; that is why the window opens with the monitor already selected.
In DMarlon Studio it is the Data table in the palette: you define its columns in the inspector and the studio generates the ttk.Treeview with show="headings", its headings and a vertical scrollbar.
Code · main.py
import tkinter as tkfrom tkinter import ttkproducts = [("P-001", "Keyboard", 25.9, 14), ("P-002", "Mouse", 12.5, 3), ("P-003", "Monitor 24\"", 149.0, 6), ("P-004", "USB cable", 4.95, 40), ("P-005", "Webcam", 39.99, 2), ("P-006", "Headphones", 59.0, 9), ("P-007", "Laptop stand", 29.5, 11)]root = tk.Tk()root.title("Products")root.geometry("560x290")# Columns by name; show="headings" hides the tree column (#0).tree = ttk.Treeview(root, columns=("code", "name", "price", "stock"), show="headings")for col, title, width, anchor in [("code", "Code", 80, "w"), ("name", "Name", 220, "w"), ("price", "Price", 100, "e"), ("stock", "Stock", 80, "e")]: tree.heading(col, text=title) tree.column(col, width=width, anchor=anchor)# One row per product; the tag "low" paints the rows with little stock.for code, name, price, stock in products: tree.insert("", "end", iid=code, values=(code, name, f"{price:.2f}", stock), tags=("low",) if stock < 5 else ())tree.tag_configure("low", foreground="#c0392b")info = ttk.Label(root)info.pack(side="bottom", anchor="w", padx=12, pady=(0, 10))tree.pack(fill="both", expand=True, padx=10, pady=10)def show(event): # <<TreeviewSelect>>: the selection has changed code, name, price, stock = tree.item(tree.focus(), "values") info.config(text=f"Selected: {name} ({code}), {price} each, {stock} in stock")tree.bind("<<TreeviewSelect>>", show)tree.selection_set("P-003") # a row chosen from codetree.focus("P-003")root.mainloop()Key points
columnsplusshow="headings"make a table with no tree column.heading()sets the title;column()the width and alignment.insert("", "end", values=...)adds a row.<<TreeviewSelect>>tells you when the selection changes.
Exercise
Add a right-aligned "Total" column with price × stock, and sort the products by price before inserting them.