Lesson 15 · 15 of 20
Layout with grid · tkinter
tkinter's grid manager: rows, columns, sticky, columnspan and weights for a form that adapts to the size of the window.
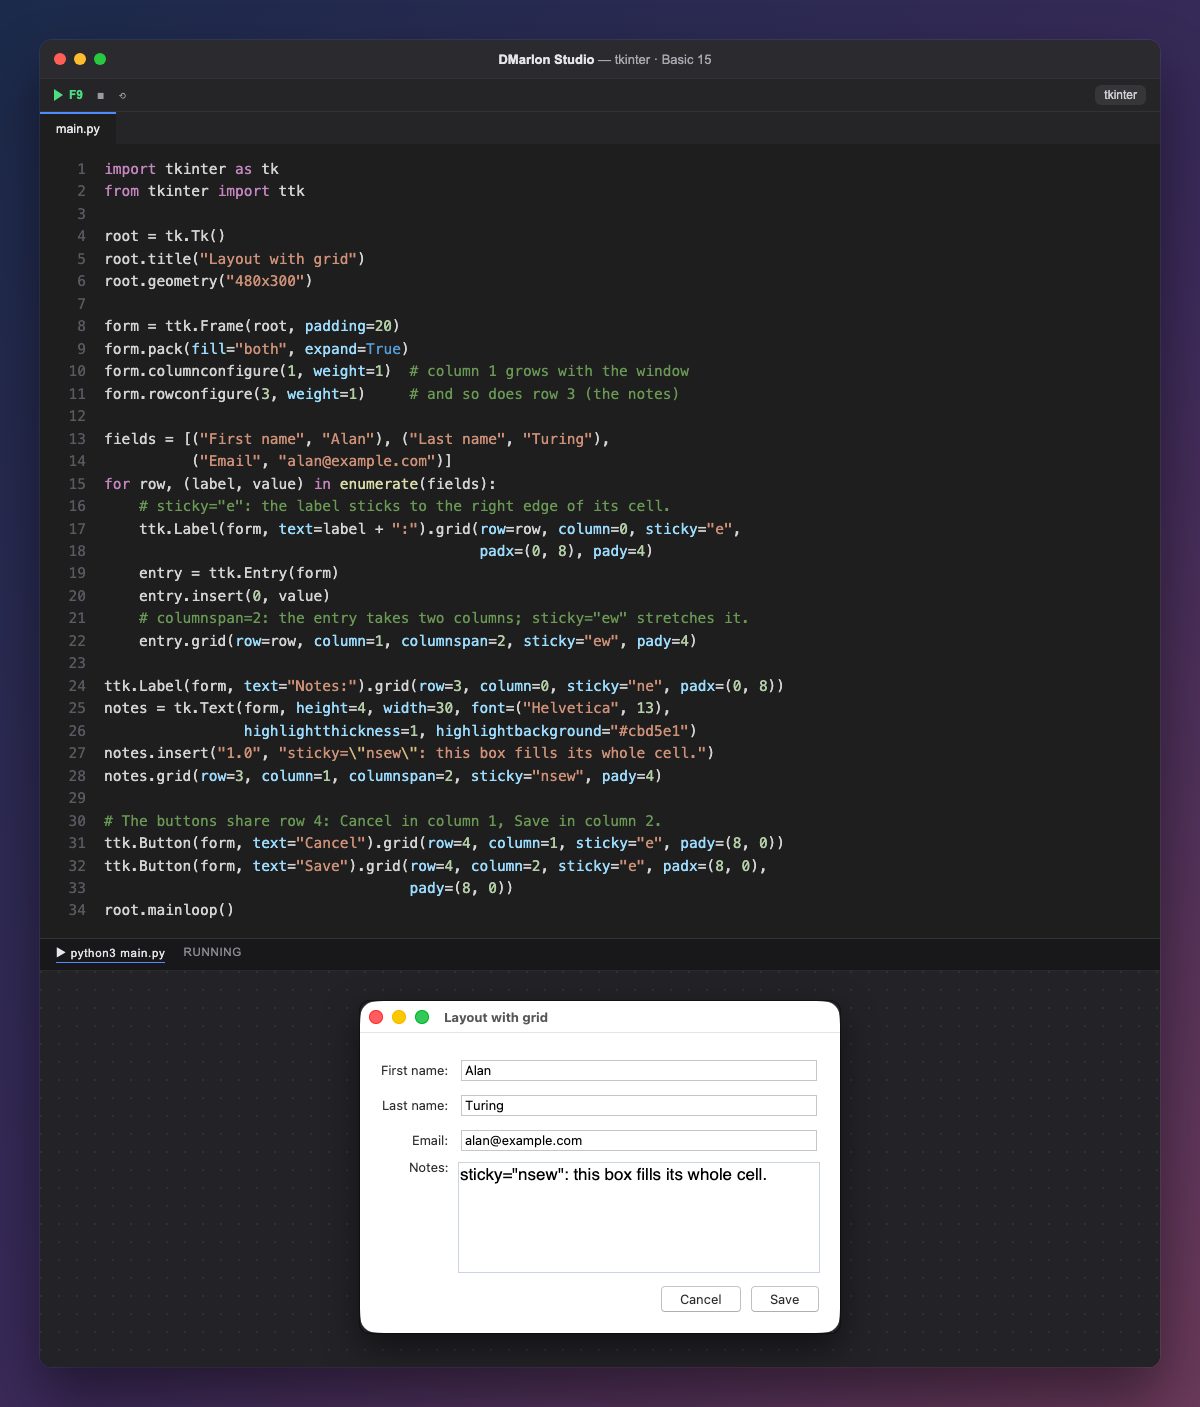
`grid` places widgets on a grid: row is the row and column the column, both starting at 0. It is the handiest choice for forms: labels in one column and fields in another.
`sticky` sticks the widget to the edges of its cell using compass points: "e" to the right (the labels), "ew" from left to right (the fields stretch) and "nsew" to all four sides (the notes fill their cell). The «Notes:» label uses "ne" to stay at the top.
`columnspan=2` makes a widget span two columns. That way the fields reach the right edge of Save, which sits in column 2, and the two buttons share row 4.
By default rows and columns are just as big as they need to be. `columnconfigure(1, weight=1)` gives column 1 the spare space, and `rowconfigure(3, weight=1)` does the same for the notes row: when the window grows, they grow.
Never mix grid and pack in the same container; that is why the form is a ttk.Frame placed with pack and using grid inside. The DMarlon Studio designer places each widget where you drop it, but you can use grid in the Code tab.
Code · main.py
import tkinter as tkfrom tkinter import ttkroot = tk.Tk()root.title("Layout with grid")root.geometry("480x300")form = ttk.Frame(root, padding=20)form.pack(fill="both", expand=True)form.columnconfigure(1, weight=1) # column 1 grows with the windowform.rowconfigure(3, weight=1) # and so does row 3 (the notes)fields = [("First name", "Alan"), ("Last name", "Turing"), ("Email", "alan@example.com")]for row, (label, value) in enumerate(fields): # sticky="e": the label sticks to the right edge of its cell. ttk.Label(form, text=label + ":").grid(row=row, column=0, sticky="e", padx=(0, 8), pady=4) entry = ttk.Entry(form) entry.insert(0, value) # columnspan=2: the entry takes two columns; sticky="ew" stretches it. entry.grid(row=row, column=1, columnspan=2, sticky="ew", pady=4)ttk.Label(form, text="Notes:").grid(row=3, column=0, sticky="ne", padx=(0, 8))notes = tk.Text(form, height=4, width=30, font=("Helvetica", 13), highlightthickness=1, highlightbackground="#cbd5e1")notes.insert("1.0", "sticky=\"nsew\": this box fills its whole cell.")notes.grid(row=3, column=1, columnspan=2, sticky="nsew", pady=4)# The buttons share row 4: Cancel in column 1, Save in column 2.ttk.Button(form, text="Cancel").grid(row=4, column=1, sticky="e", pady=(8, 0))ttk.Button(form, text="Save").grid(row=4, column=2, sticky="e", padx=(8, 0), pady=(8, 0))root.mainloop()Key points
rowandcolumnstart at 0.stickysticks the widget to the edges of its cell.columnspanandrowspanspan several cells.weightdecides which rows and columns grow.- Do not mix
gridandpackin the same container.
Exercise
Add a «Phone» row between «Email» and «Notes» and move the notes and the buttons one row down (remember the rowconfigure).